Getting Started in Skyships
From PRESS SPACE TO FLY to your first Market sale and Shipyard spend.
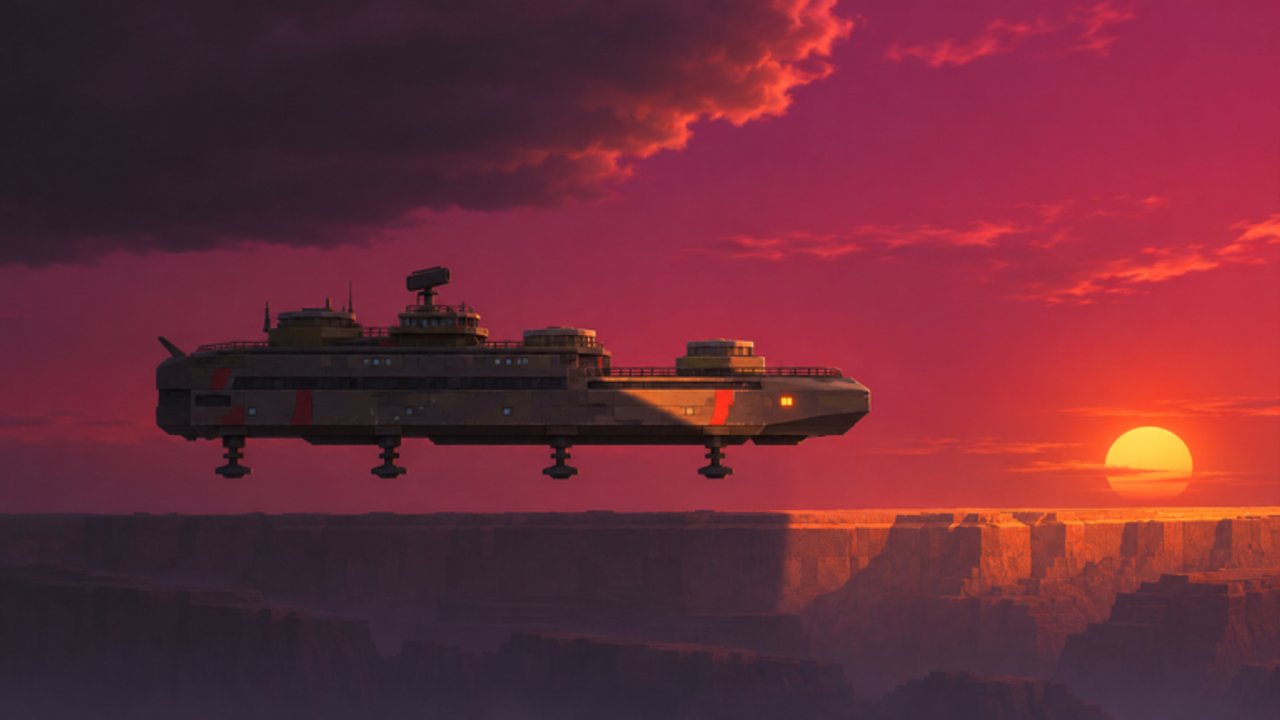
Skyships drops you into a groundless sky the moment the loading screen finishes. This beginner guide walks a new captain from the first SPACE prompt through tutorial mining, Fort Anton docking, Market sales, early contracts, and the first sensible Shipyard purchases—without racing into a “beyond our tier” death spiral.
Skyships is a free-to-play Roblox adventure by Rusty crafts (released October 22, 2026). Servers hold up to 18 pilots. You do not need Robux to complete everything in this page; optional passes are covered later in Game Passes.
Loading screen and the 11-step tutorial
On the loading screen, follow PRESS SPACE TO FLY. The session then transitions into ENTERING NEVERLANDS and the on-rails training sequence. The tutorial is roughly eleven prompted steps: learn thrust and altitude, approach a marked deposit, hold F to mine, return toward port, complete docking, and finish with guidance such as HEAD TO PORT until you see confirmation like TOUCHDOWN CONFIRMED at Fort Anton.
Do not skip prompts. Each step teaches a HUD habit you will reuse for every later voyage. If you get lost mid-tutorial, open the tactical map with M, center on yourself with Space, and follow the glowing objective marker rather than freestyling into Hostile Skies.
Flight basics you need on day one
| Action | Keys |
|---|---|
| Thrust | W / S |
| Turn | A / D |
| Altitude | E / Q |
| Tactical map | M |
| Mine / context landing | F |
Some builds and sources also list G for landing gear. Treat F as the context key for mining when a deposit is in arc, and learn gear deployment near pads so docking stays clean. Full detail—including hull stress—lives on the Controls page. Practice climbing and descending before you load a heavy hold; altitude mistakes cause collisions that chew hull integrity.
First mining run (Iron near Fort Anton)
After flight practice, the tutorial marks an IRON (COMMON) deposit. Approach bow-first, keep the deposit inside your laser arc, and hold F. A progress ring tracks the dig. Pickup text such as HOLD - MINE IRON (COMMON) reports units and kilograms as ore enters the cargo hold.
Watch for three warnings while you dig:
- OUT OF LASER ARC — yaw so the bow faces the deposit again.
- NO DEPOSIT IN RANGE — close distance; do not spam F from across the sector.
- DEPOSIT DEPLETED — stop and move to the next marker.
Iron weighs about 5 kg per unit, so it is forgiving for early cargo limits. Fill what you can without reckless overload, then turn back toward Fort Anton. Deeper ore tables and map legend tips are in Mining.
Dock, bunker, and sell
Approach the port until the Enter Port / docking prompt appears. Complete the dock sequence. Successful storage shows messages in the CARGO SECURED / STORED IN BUNKER family—cargo must be in personal bunker storage before the Market will sell it.
Then open Market → Resources:
- Select the ore row (Iron first).
- Use MAX or type a quantity (trades often cap around 10 units per click—repeat as needed).
- Press SELL and confirm credits land.
Those credits fund Shipyard research and ship unlocks. Avoid buying market ore to flip immediately; buy prices sit above sell prices, so early captains should mine, not arbitrage.
First contracts and Field Training
You can hold up to three active contracts. Early Fort Anton jobs typically include:
- Ore Contract — mine a set amount of Iron (example: 20 Iron for credits and reputation).
- Field Training — combine ore with a few enemy kills; often rewards an early blueprint such as the M14 14mm MG.
- Cargo Run / Courier — deliver to a marked courier (example route toward Ash Hall / Courier L-11).
- Bounty — destroy a marked target; only accept fights inside your tier.
Finish Field Training before you wander. The blueprint it grants starts your weapon path; cases later expand that path (see Cases).
Shipyard priorities after the first sale
Open the SHIPYARD at Fort Anton. You begin on the Wasp (T1 Destroyer) line. Spend early credits on mining reach, cargo capacity, and survivability rather than vanity modules. When you can afford the branch point, choose:
- Corvette (T2 Destroyer, ~500 CR) for the destroyer climb toward Strizh.
- Hornet (T2 Cruiser, ~500 CR) if you prefer the cruiser branch.
Strizh (T3 Destroyer) costs about 5000 CR plus minerals on the normal path, or arrives early via the limited Starter Pack. Full trees, build locks, and T4 names (Berkut, Gyurza, Raptor) are documented in Ships.
Danger tiers and when to push past the clouds
Fort Anton is Tier 1 training space. Fort Meridian opens Tier 2 routes. Fort Cebar is a snowy later port with heavier yard options. When the game warns you are heading beyond our tier, treat it as a hard stop until your hull, weapons, and research catch up. PvP pressure becomes a real factor from T4+—do not farm high-tier ore in a Wasp and expect mercy.
First-hour checklist
- Press Space on load; finish all tutorial prompts through Fort Anton touchdown.
- Hold F on Iron; respect laser arc and range warnings.
- Dock, confirm bunker storage, sell via Market → Resources.
- Accept Ore + Field Training; keep a third slot free for a Courier if you want reputation.
- Research one mining/cargo package on Wasp; do not rush a T3 purchase broke.
- Skim Combat before your first bounty.
- Claim the free like reward when available (3 Common Cases, MK8 Hydra, 1.25× kill earnings)—steps in Cases.
- Assemble a basic fleet when friends are online (Fleets).
Common beginner mistakes
- Leaving Fort Anton with a full hold and no fuel for a clean dock approach.
- Ignoring hull-stress slowdown prompts and slamming terrain.
- Accepting a T2 bounty on a stock Wasp.
- Opening every case before you can afford to craft the blueprint materials.
- Buying Trader Pass on day one instead of learning Market fees first.
Follow this voyage twice in a row and the loop becomes muscle memory: mine → sell → upgrade → one careful push beyond the clouds. When you want a visual companion, the embedded full guide video mid-page covers rare ores, forts, weapons, and practical tricks from a complete play session. After that, return to the Guides Hub and open the specialist page that matches your next bottleneck.
Frequently Asked Questions
Quick answers to the most common questions.
How long is the Skyships tutorial?
About eleven prompted steps from PRESS SPACE TO FLY / ENTERING NEVERLANDS through mining practice and docking at Fort Anton with touchdown confirmation.
Where do I sell ore as a beginner?
Dock at Fort Anton, confirm cargo is secured in the bunker, then open Market → Resources, choose MAX or a quantity, and press SELL.
What should I buy first at the Shipyard?
Invest Wasp research into mining reach and cargo before jumping tiers. Save for Corvette or Hornet (~500 CR) only after you can still outfit the new hull.
Can I play the whole beginner loop free-to-play?
Yes. Mining, contracts, and shipyard progression do not require Robux. Passes and packs are optional shortcuts explained on the Game Passes guide.
What does the beyond our tier warning mean?
You are entering a danger tier above your ship’s readiness. Turn back until upgrades, weapons, and experience match the zone—especially before T4+ PvP space.